When you think of skiing, downhill (a.k.a. Alpine) skiing probably comes to mind. But there’s another style that deserves a second look. It’s called cross-country, or Nordic, skiing — and it’s actually the original and oldest form of the sport.

Nordic skiing began in (you guessed it) Norway, where it developed out of necessity. Norwegians used it as a way to travel over snow-covered land for hunting, wood gathering, and social purposes.

In the mid-1800s, it first appeared as a sport, with the first race taking place in 1842 in Norway. Nordic skiing made its first Olympic debut in the 1924 Winter Games in Chamonix, and the women’s event debuted at the 1952 Oslo Games.

Although downhill skiing gets most of the glory and hype these days, more and more people are turning to Nordic skiing. According to the Outdoor Foundation, Nordic skiing has grown steadily in popularity over the last few years. From 2013 to 2016, the number of Americans hitting cross-country trails spiked from 3.4 million to 4.6 million — a 40.3% increase.

There are plenty of good reasons for this rapid growth. For starters, it’s less expensive than downhill skiing. As opposed to a day on the slopes, which could cost you more than $300 with lift tickets and gear rentals, you can purchase a pass and rent cross-country skiing gear for less than $50.

It also provides an invigorating, heart-pumping cardio workout — with less impact on your joints than downhill skiing, notes Andrea Putt, a Nordic skiing instructor at White Pine Touring.

Another perk: Nordic ski trails are often quieter, calmer, and perhaps even more picturesque than resort runs.

Recently, I stopped by the White Pine Nordic Center, located in Hotel Park City, to learn more about the sport and try my hand at on the cross-country tracks. Below are six top takeaways that I learned on my lesson that you can learn from before hitting the trails yourself.  

Writer Locke Hughes on nordic skis

1. Choose Your Version of Nordic Skiing

When I called to book my lesson, I was asked if I wanted a “skate” or “classic” lesson — and I had no idea what to answer! Turns out, there are two types of cross-country skiing, and they’re very different. In classic, you’ll glide on two groomed parallel tracks, and the movement is fairly natural — it looks a lot like “walking” on skis.

Skate skiing involves more speed, as well as more skill. It’s done on groomed trails and the movement is more athletic. It’s known as the “v-style,” and you’ll get going by pushing the edge of one ski into the snow, then transferring your body weight onto the other ski to propel yourself forward.

I opted to start with a Classic lesson. This style is better for beginners, Putt told me, since it’s easier to learn and gives the person a feel for gliding on skis, getting their balance, and transferring their weight.

2. Dress Properly

This is where most beginners make their first mistake, Putt says. “A lot of people show up to Nordic ski in the wrong clothes, such as downhill clothing which is too heavy, bulky, and warm.” Since you’ll get your heart pumping quickly, you’ll want to dress like you’re going for an outdoor run — meaning, layer up!

Layering is a great way to stay comfortable as you’re starting out but enables you to take off your outerwear as you warm up. Try layering a long-sleeve top with a light windproof jacket and tights or pants that have some stretch to them. Add an insulated vest if you get chilly.

3. Accessorize With the Right Gear

Again, you won’t need the same equipment as you’d wear on the downhill slopes. Opt for light-weight gloves, hat, and sunglasses. (No goggles required.) You can rent high-quality, professionally tuned boots, skis, and poles at White Pine, and they also have plenty of gear for sale if you’re missing anything else.

Coach and Student putting on winter gloves

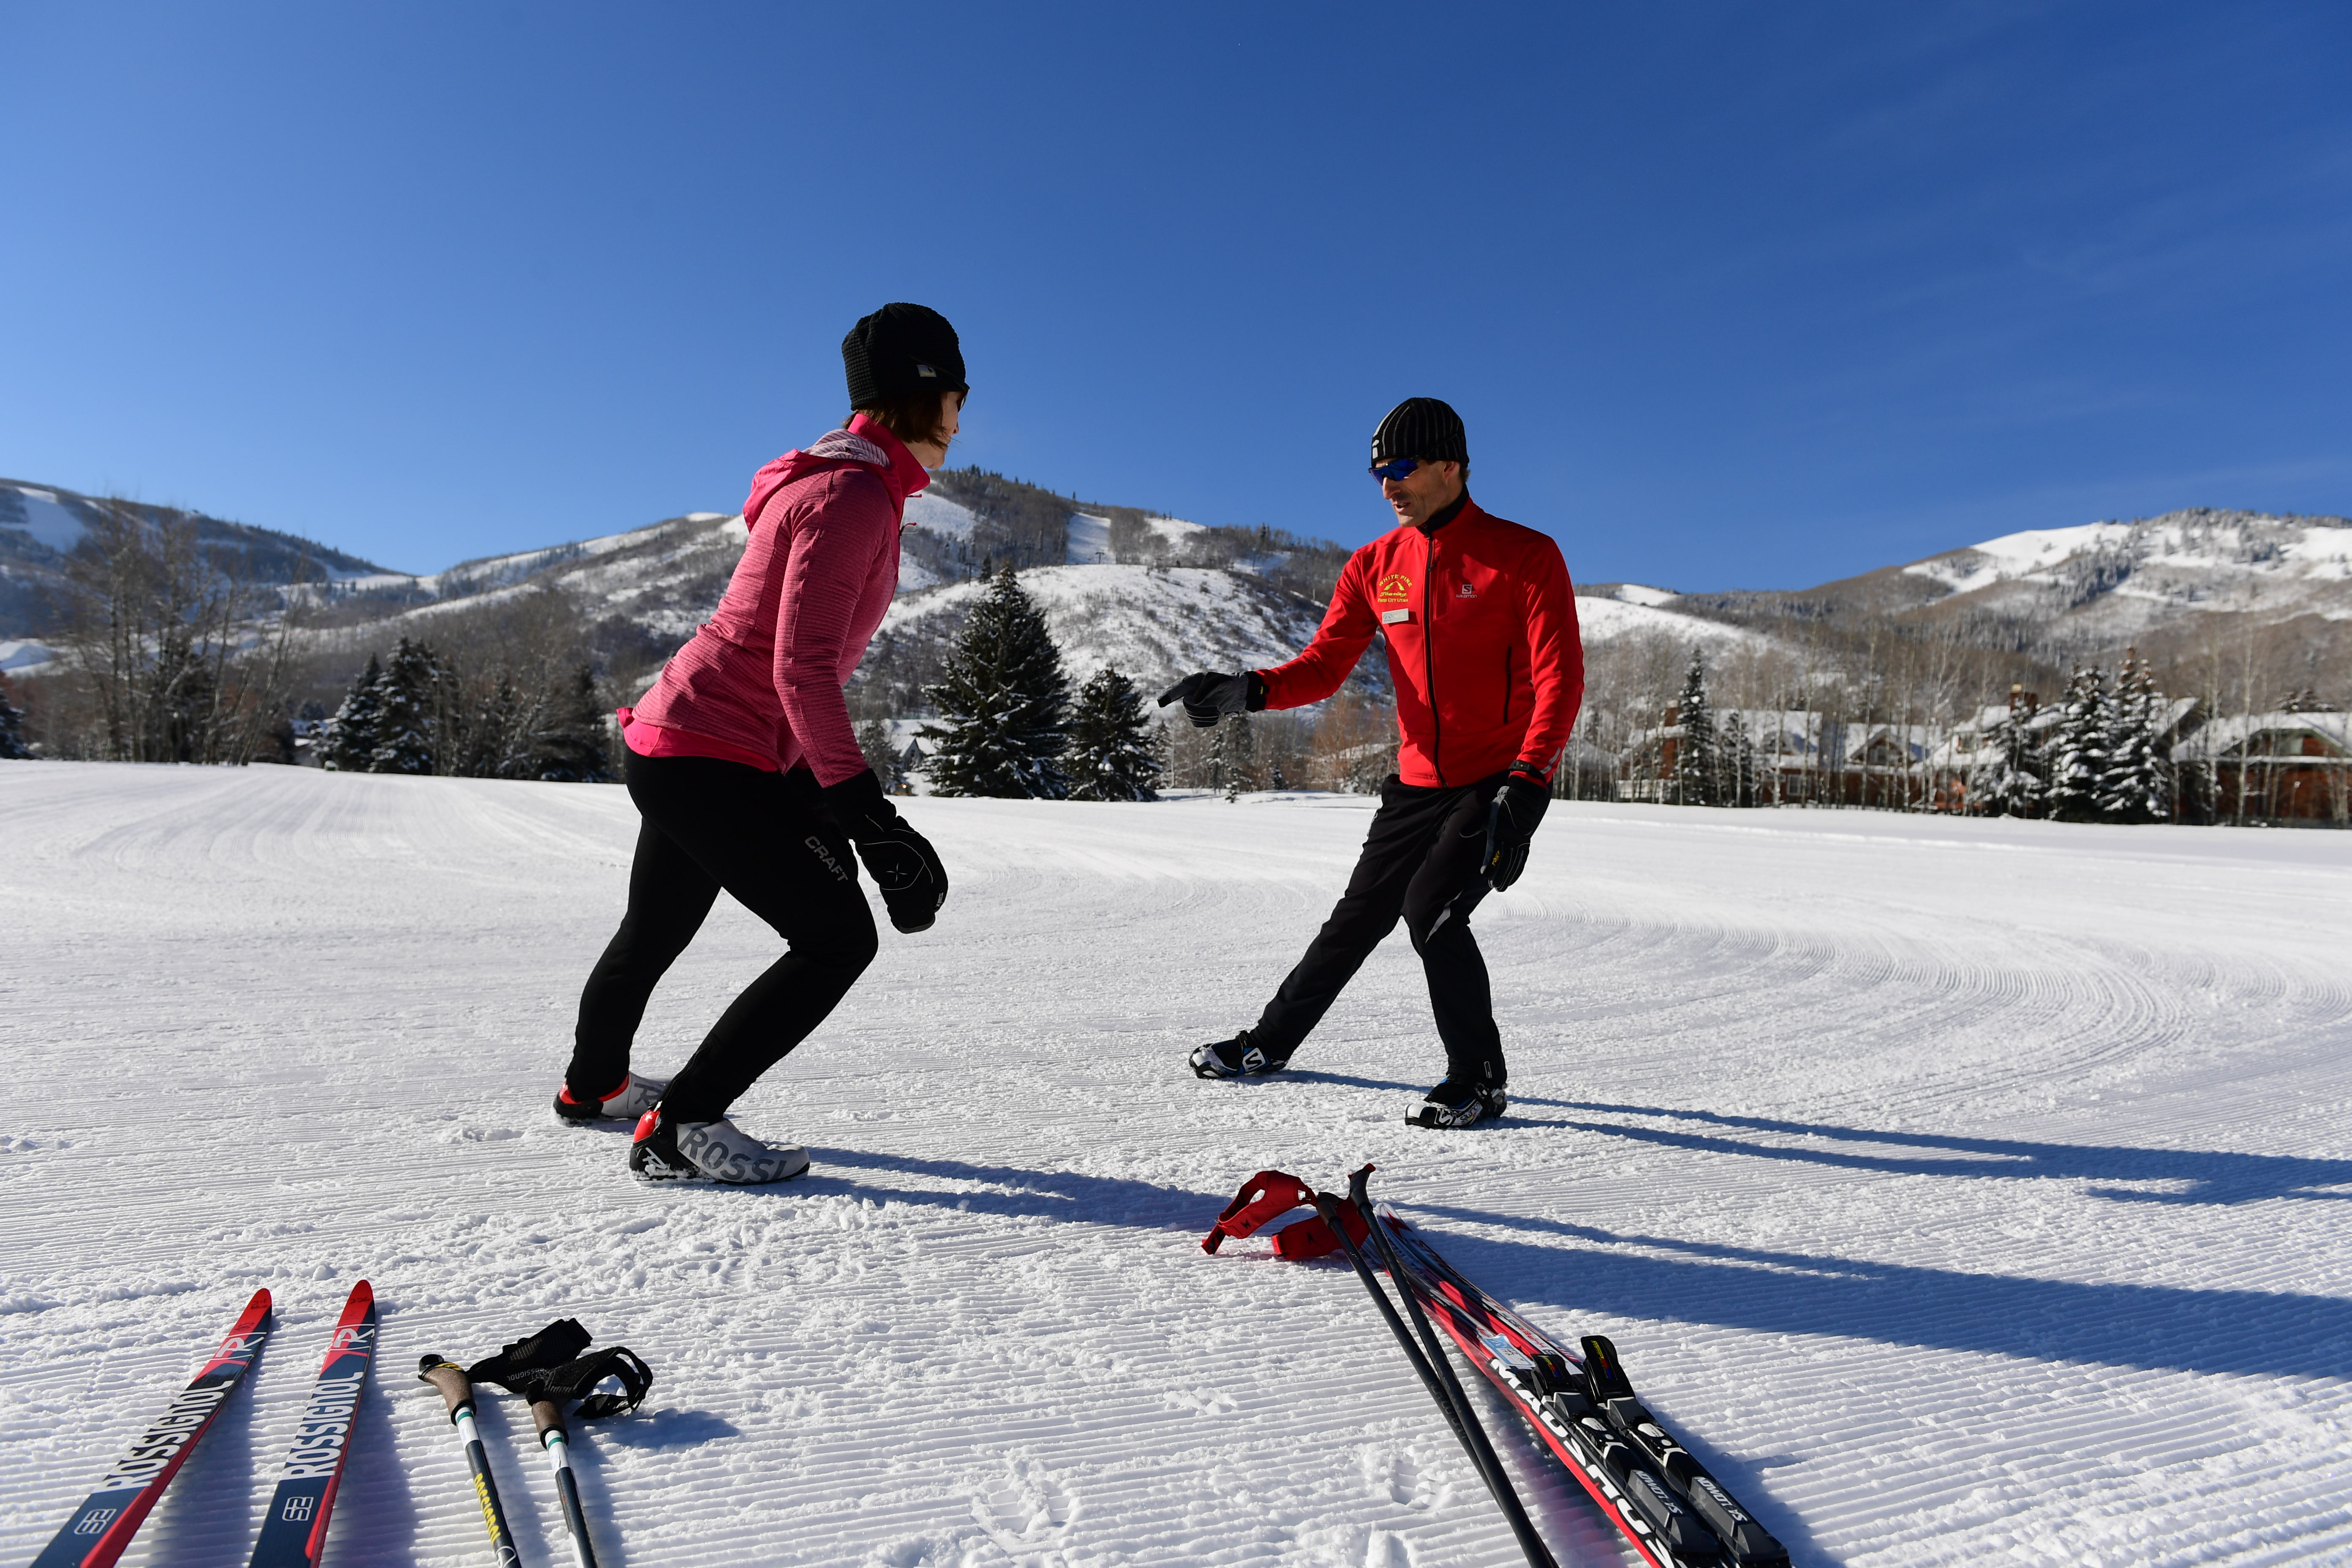
4. Take Time to Learn Proper Movement

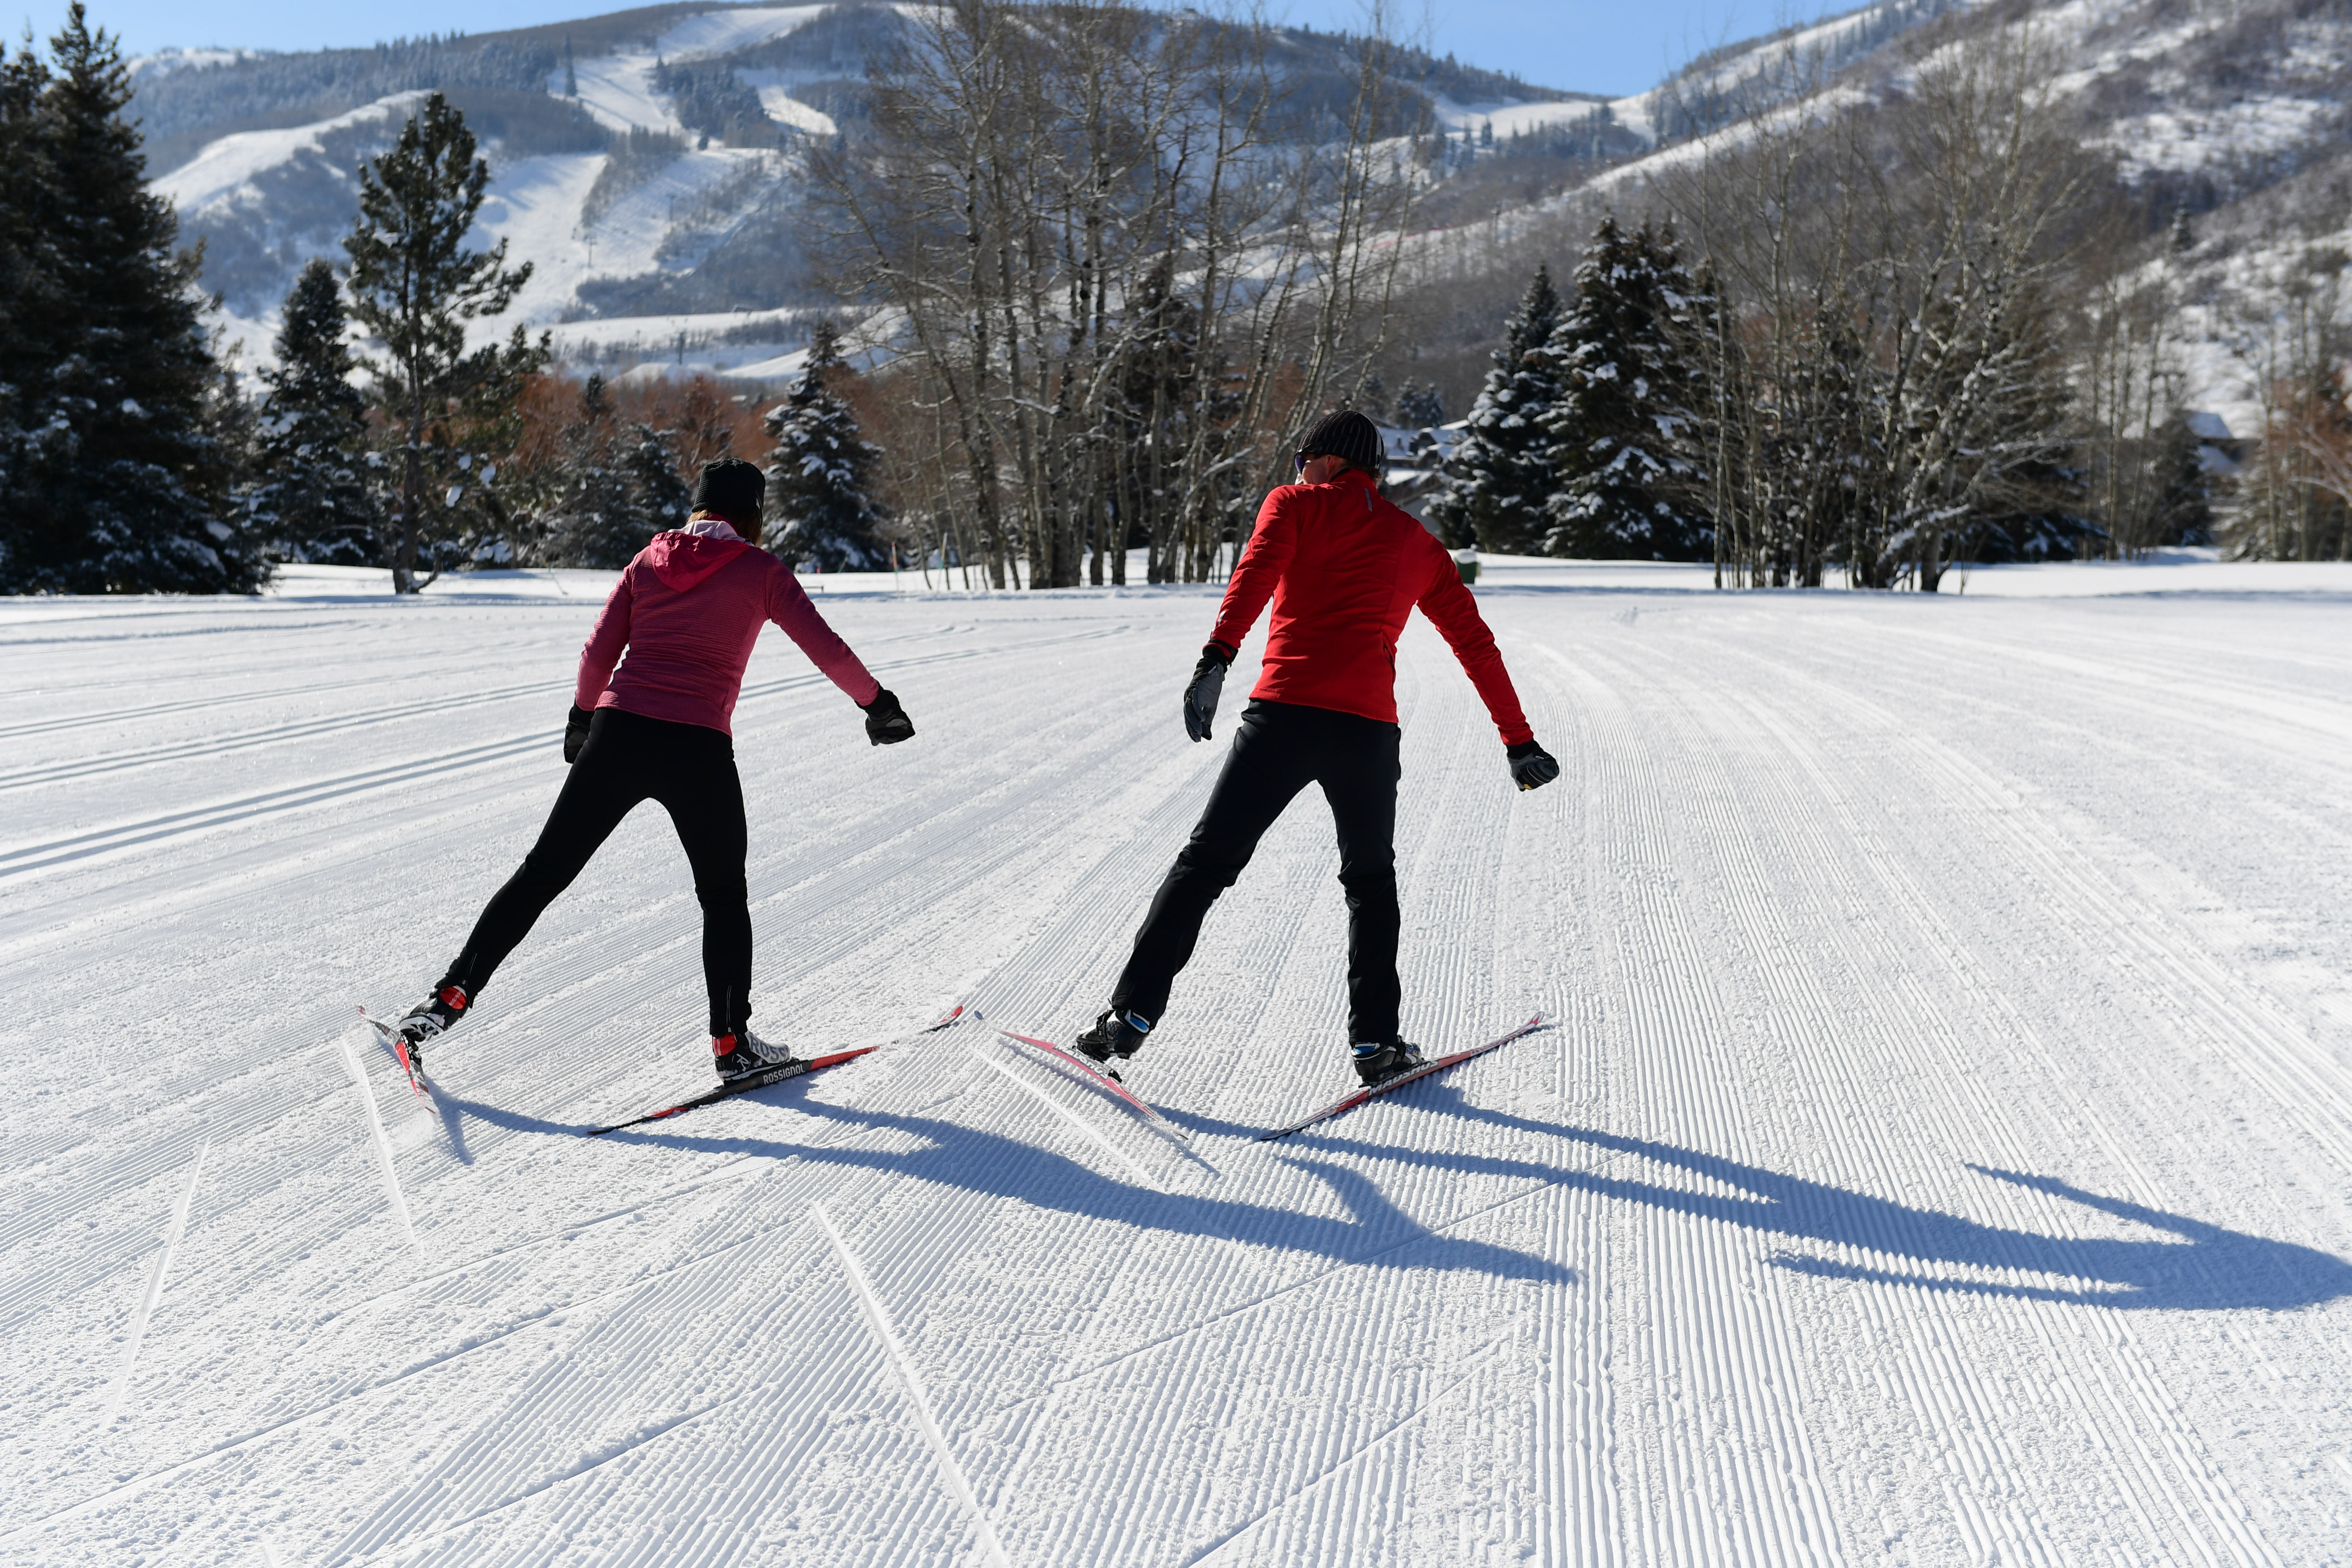
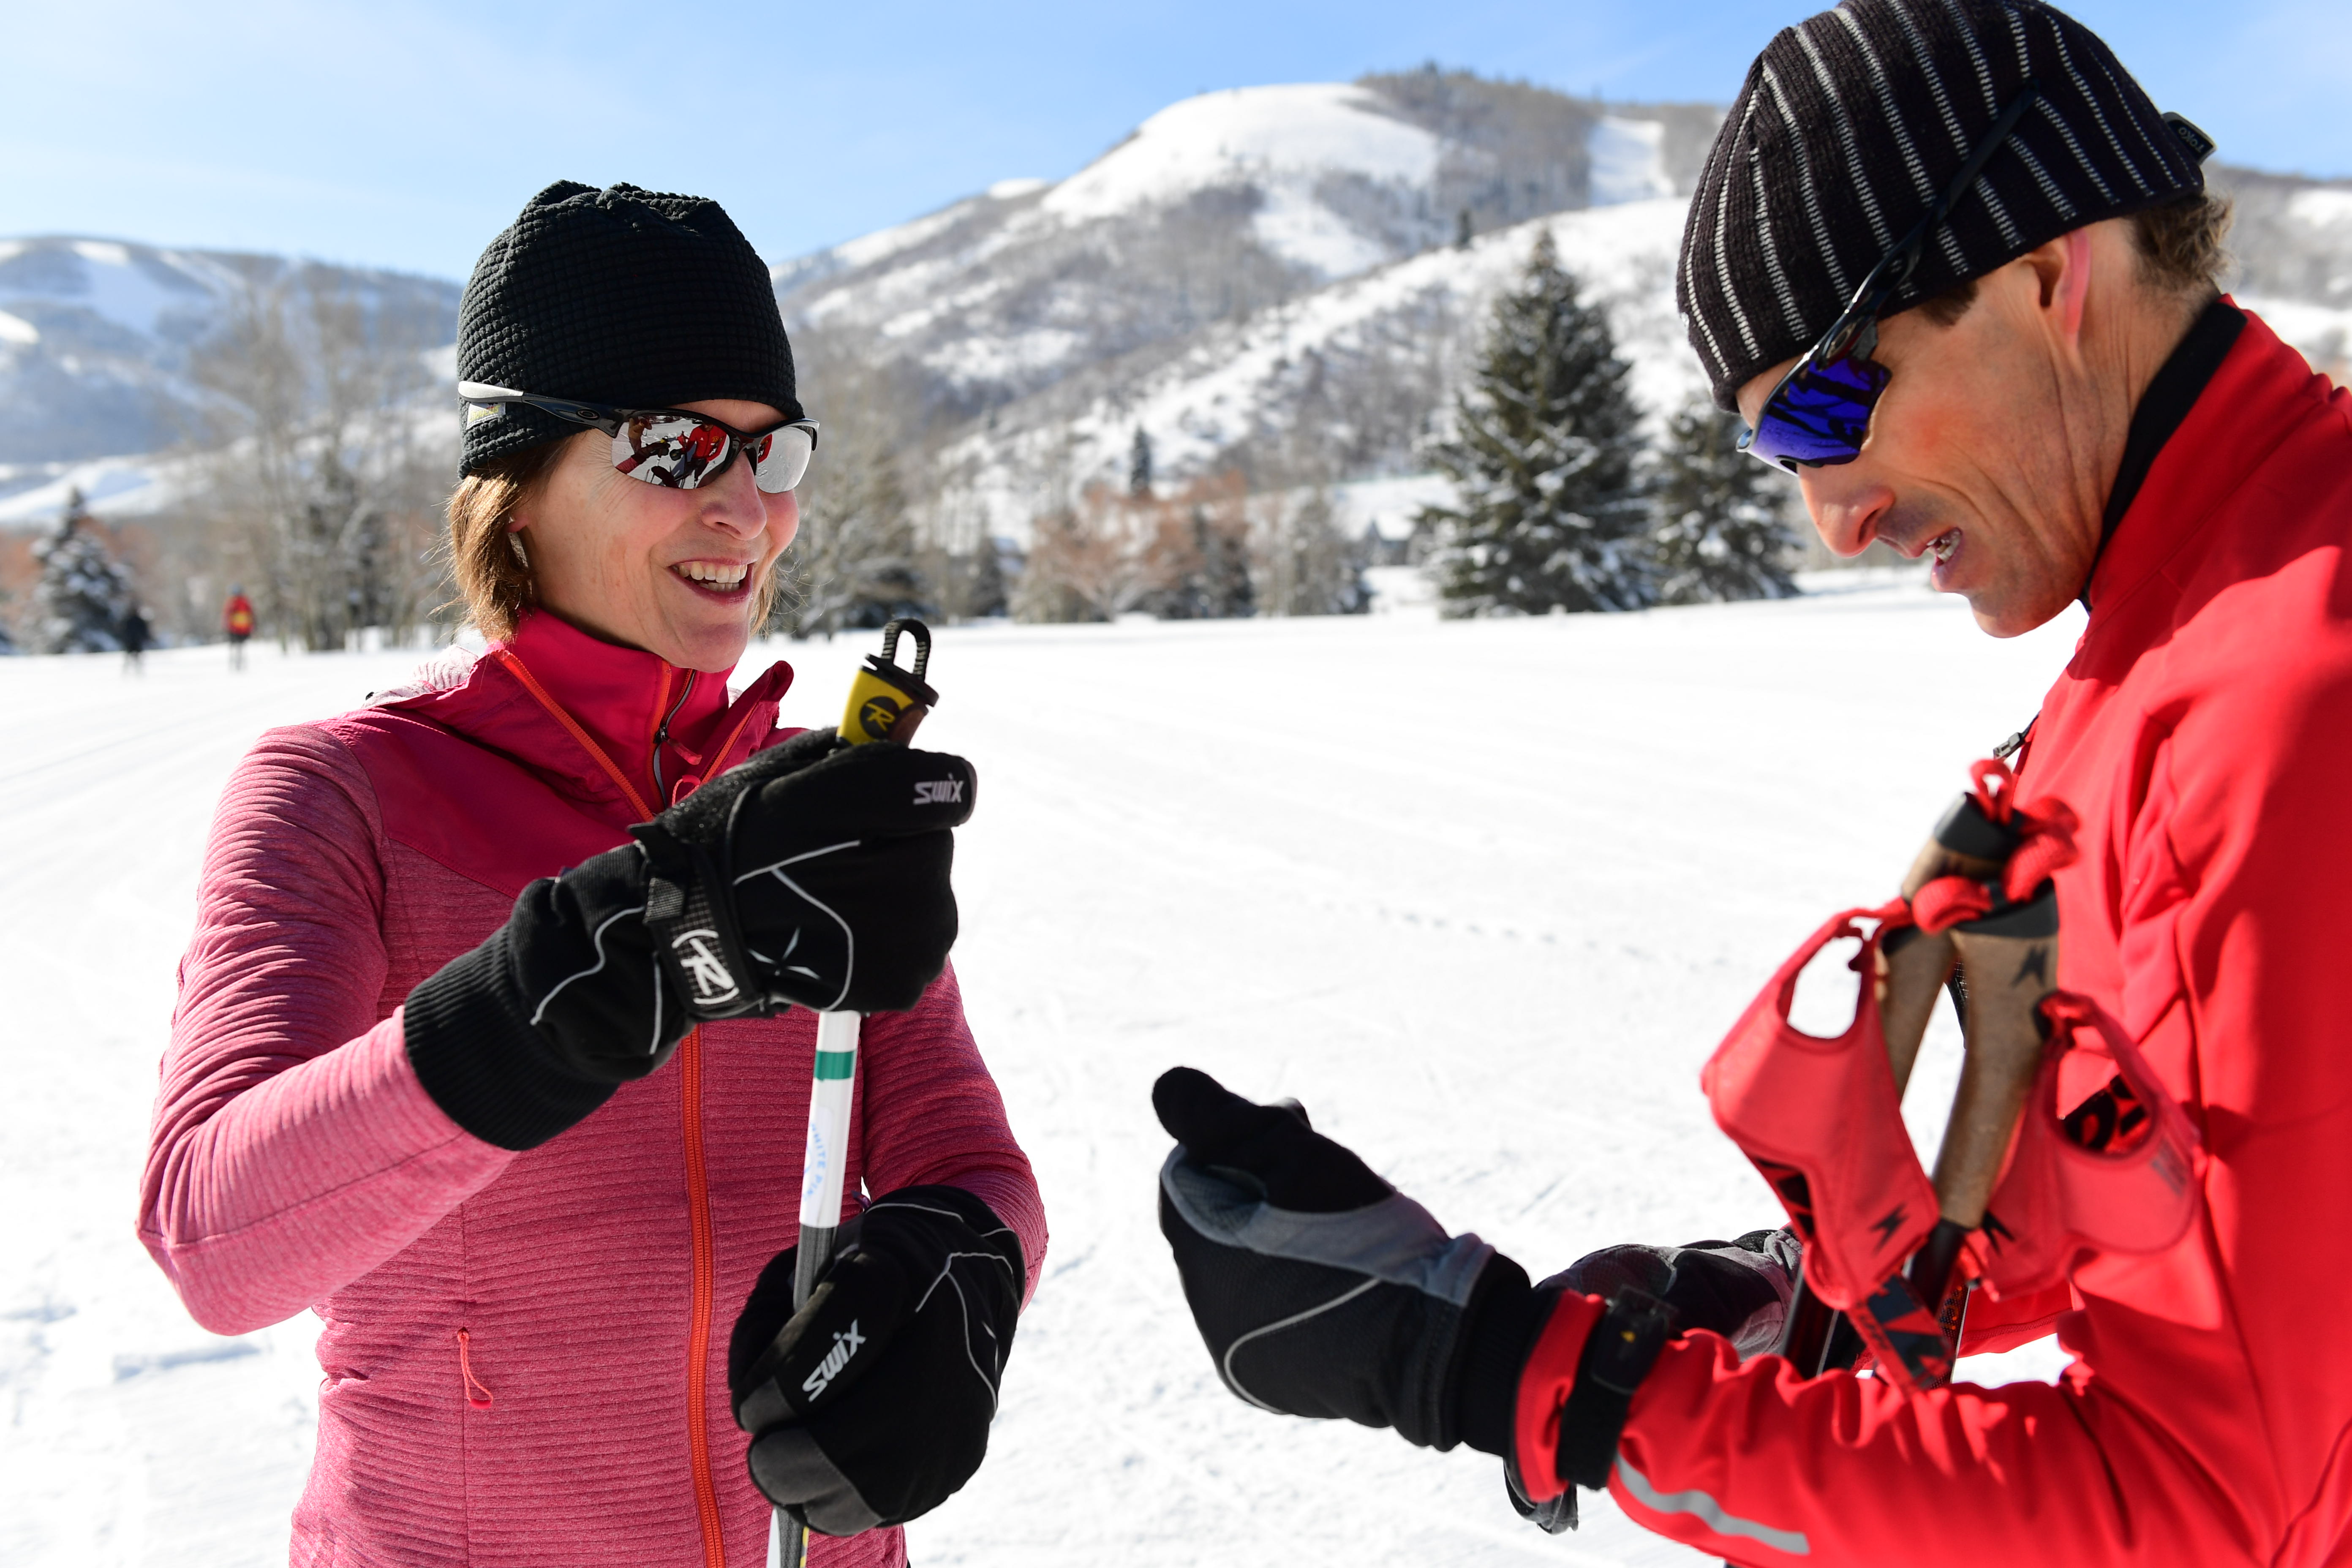
You might be tempted to hit the trails solo right off the bat, but take it from me: You’re going to want a lesson, even if you’re a pro downhill skier. A guide can show you how to properly put on the boots and skis, describe the proper movement, and offer tips for the uphill and downhill sections.

And while it’s fairly intuitive, it’s trickier than you might think. While the striding movement came pretty naturally for me (imagine kicking a ball every time you step forward), I got tripped up by the pole placement and corresponding arm movements. It took a long lap around the course for me to get the rhythm down.

A coach showing student proper leg movements

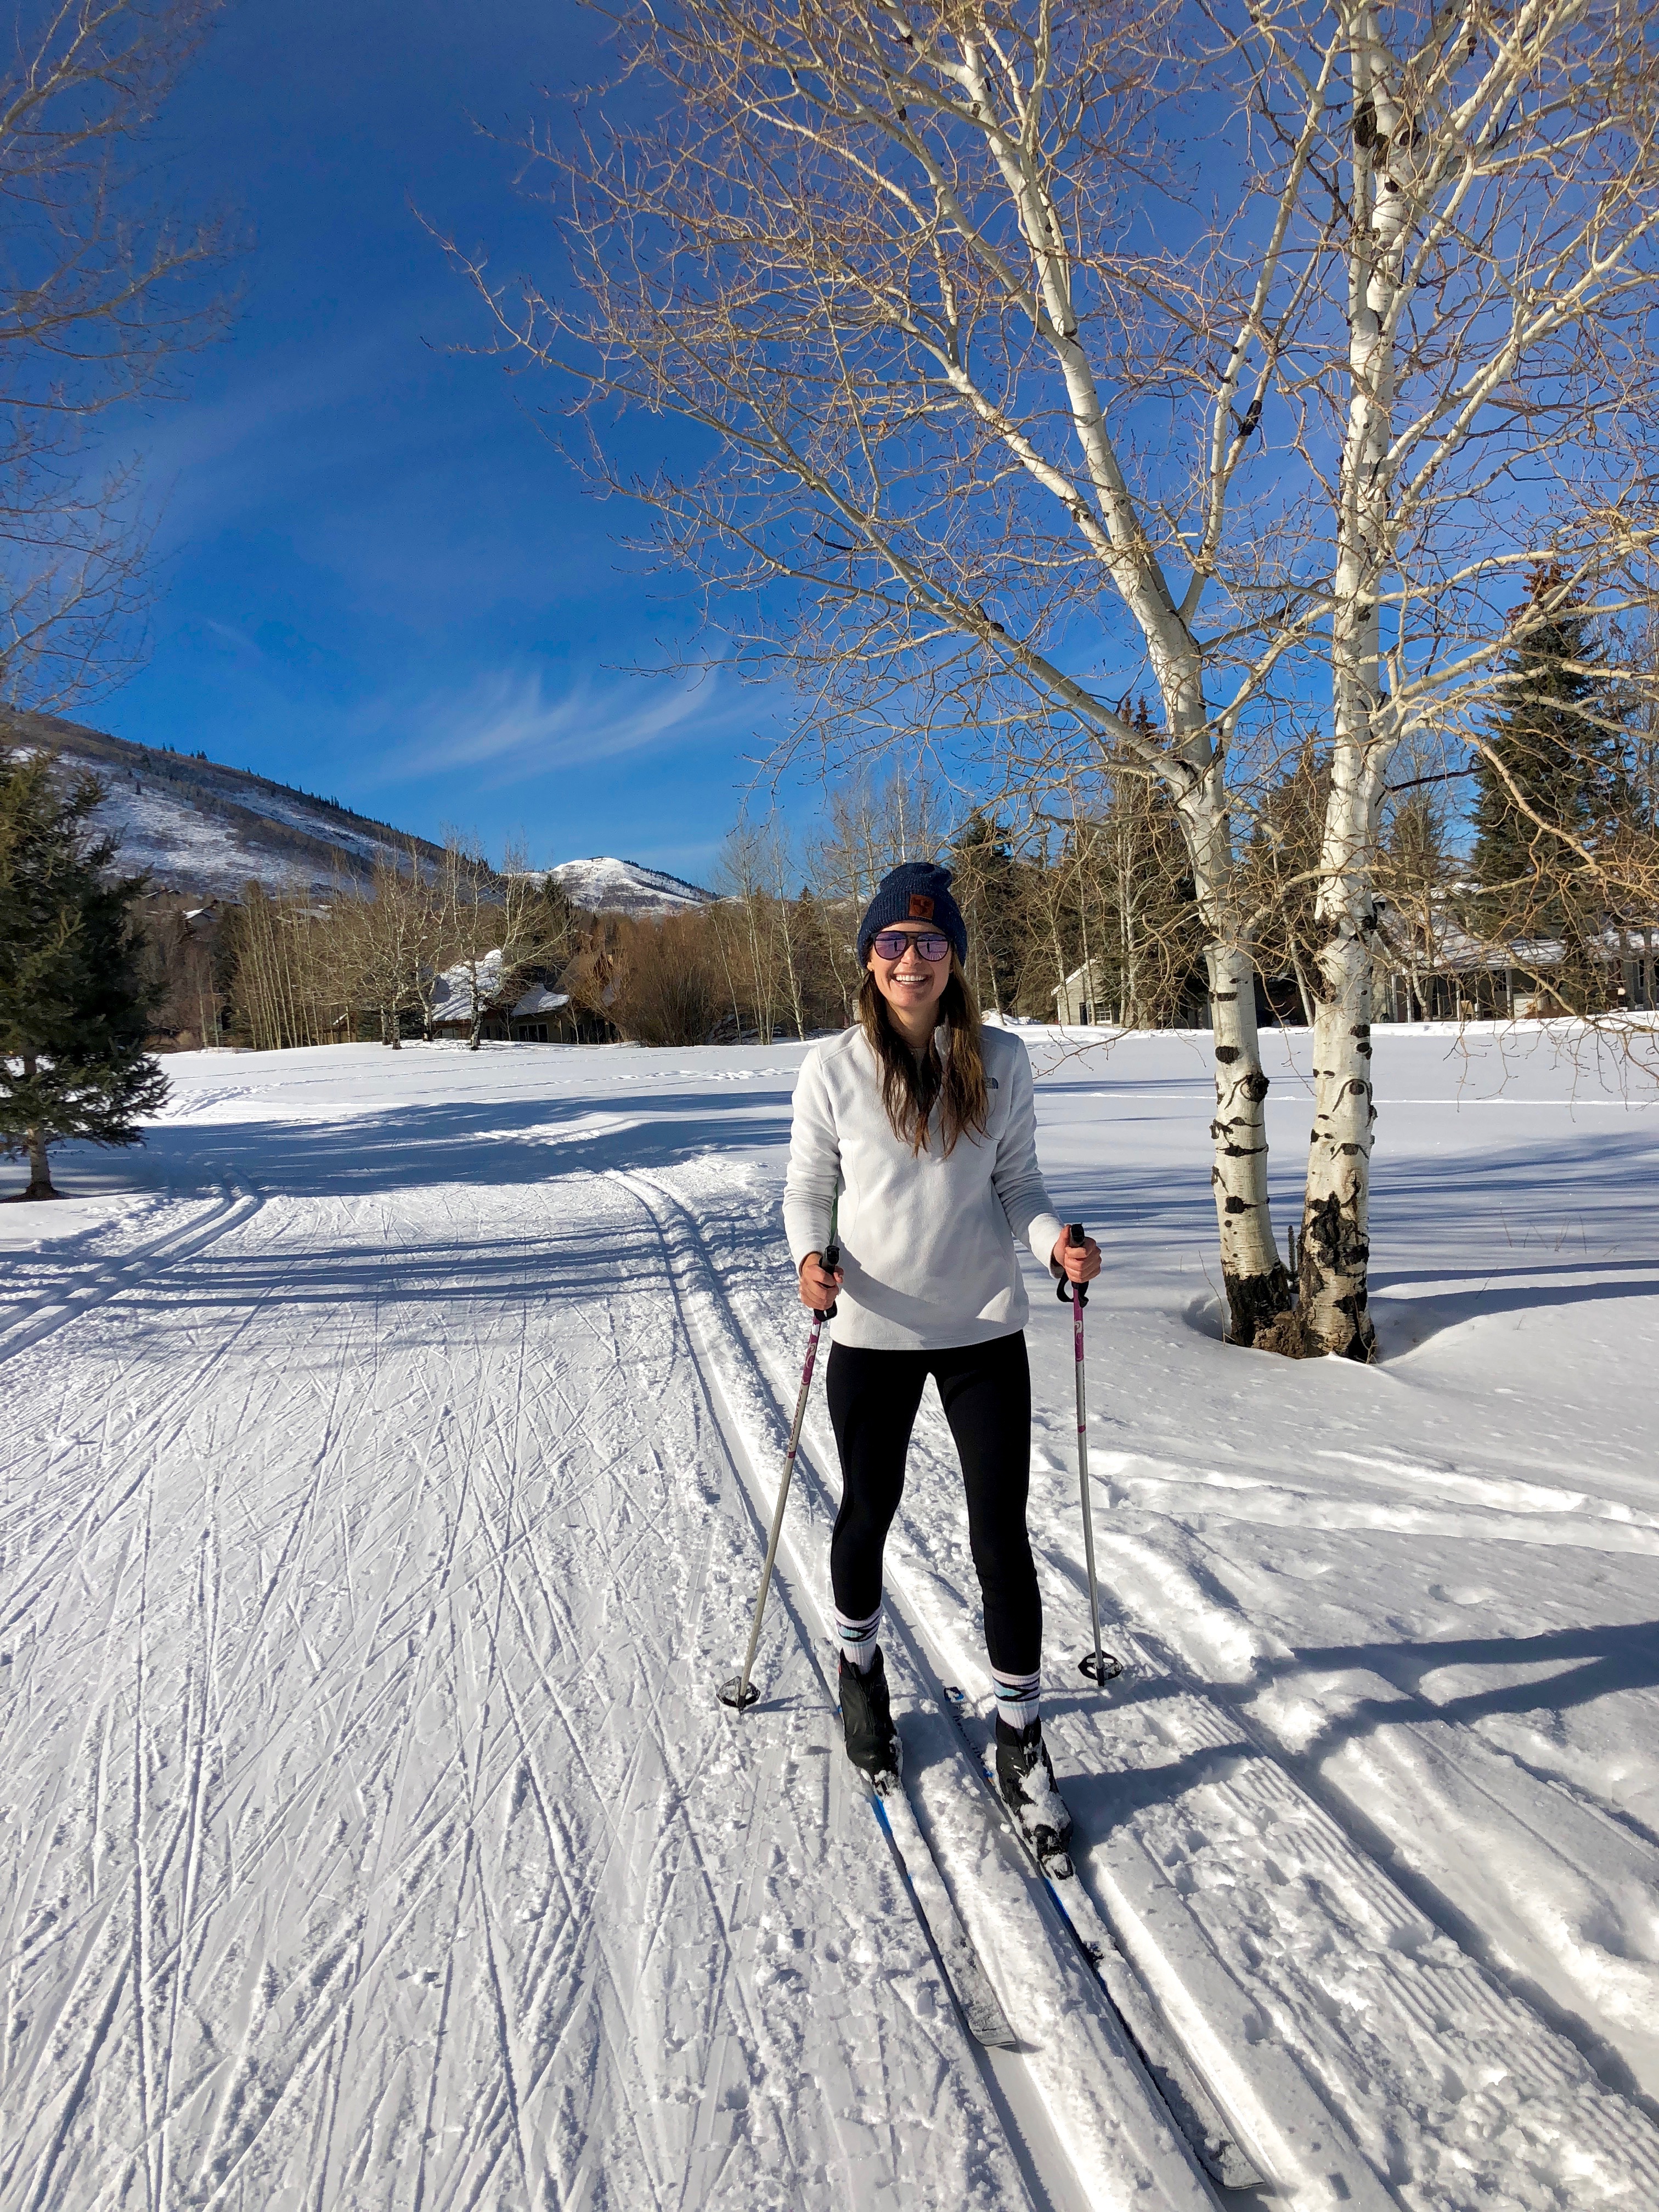
5. Familiarize Yourself With the Terrain

White Pine maintains about 20 kilometers of Nordic skiing terrain, and there are three levels: The 3K route (which starts on the front nine of the golf course) is the easiest terrain. The 5K loop is intermediate, while the 10K loop around the iconic McPolin Farm is the most advanced. (Check current trail conditions here.)

There are numerous trails maintained by Basin Recreation and Mountain Trails Foundation, which are free to the public. Note that these are multi-use trails, so you can also expect to encounter fat bikers, snowshoers, dog walkers, and hikers. And unlike White Pine’s trail system, they aren’t groomed every day.

A coach and student are skate skiing on nordic skis

6. Don’t think too hard — and have fun!

It sounds counterintuitive, but what helped me really nail the cross-country strides was not thinking so hard about it. Let your skis glide over the freshly groomed snow, take in the gorgeous landscape around, and feel your heart beating. It’s an excellent activity for anyone who wants to get in a great workout in a beautiful place — and really, who doesn’t want that?